10 Great Tips for Using the Akai MPK Mini MK3 with FL Studio
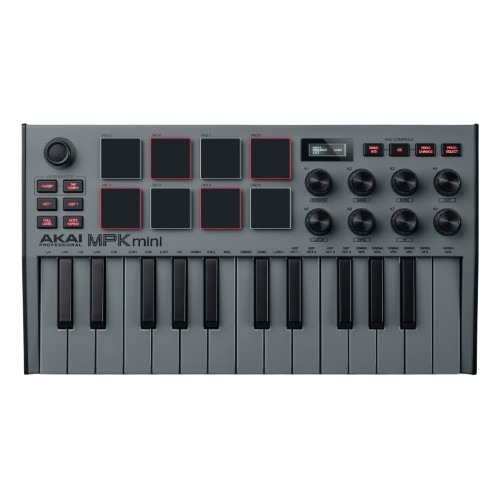
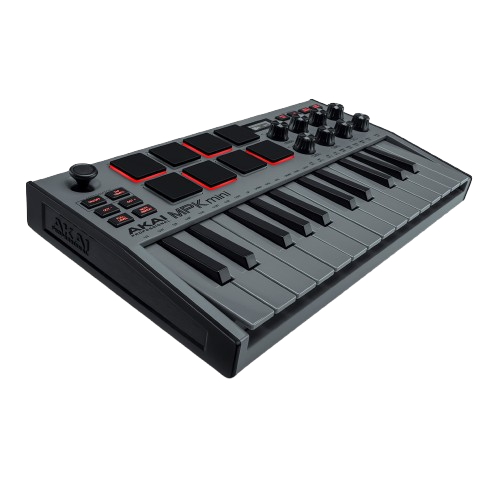
The Akai MPK Mini MK3 is a popular MIDI controller that pairs beautifully with FL Studio. It is also one of the favorites in Good Time Tribe studios. Its compact size and versatile features make it ideal for producers at all levels. A MIDI controller is virtually required for any musician, whether you use a DAW or are working with only hardware. To help you get the most out of your MPK Mini MK3, here are 10 tips tailored specifically for FL Studio users:
Install the Latest Firmware and Software
Before diving into production, ensure your MPK Mini MK3 is up-to-date. Download the latest firmware and the Akai Pro MPK Mini Editor from the official Akai website. This guarantees compatibility and unlocks the controller’s full potential.
Use the FL Studio Preset in the Editor
Akai provides a dedicated FL Studio preset in the MPK Mini Editor. Load this preset to ensure the pads, knobs, and keys are automatically mapped to common functions in FL Studio. This will save you time setting up manually.
Customize Knob Assignments for Better Control
The 8 assignable knobs on the MPK Mini MK3 can be mapped to your favorite FL Studio parameters, such as volume, panning, or plugin controls. Use the “Multilink to Controllers” button in FL Studio to assign knobs quickly and intuitively.
Program the Pads for FL Studio’s FPC Plugin
The MPK Mini MK3’s 8 pads work seamlessly with FL Studio’s FPC plugin. Assign drum samples to the pads, and use them to create dynamic beats. You can also customize velocity sensitivity in the Akai Editor for more expressive drumming.
Utilize the Akai MPK Arpeggiator for Melodic Inspiration
The built-in arpeggiator on the MPK Mini MK3 is great for creating melodies and chord progressions. Experiment with different arpeggiator modes, time divisions, and octave ranges to add movement and complexity to your tracks.
Take Advantage of Note Repeat on the Akai MPK for Percussion
FL Studio users can use the MPK Mini MK3’s Note Repeat function for rapid-fire percussion rolls and effects. Perfect for trap hi-hats or snare rolls, this feature can be synced to your project’s tempo for precise timing.
Map the Joystick for Unique Pitch and Modulation Effects
The MPK Mini MK3’s 4-way joystick is a powerful tool for live performance and creative sound design. Map it to pitch bend and modulation controls in FL Studio to add expressiveness to your playing.
Leverage the Built-in Sustain Function
Don’t have a sustain pedal? No problem! The MPK Mini MK3 has a built-in sustain button. Use it to hold notes or chords while you tweak parameters in FL Studio, adding a layer of creativity to your workflow.
Create Custom Templates for Different Projects
Using Akai’s MPK Mini Editor, create custom templates tailored to your production style or specific FL Studio projects. Save templates for genres like hip-hop, EDM, or lo-fi to streamline your workflow and keep your creativity flowing.
Learn to Use the Akai MPK MIDI Channels Efficiently
The MPK Mini MK3 can transmit on multiple MIDI channels, allowing you to control different instruments or plugins simultaneously. In FL Studio, assign different channels to specific instruments to maximize the MPK’s versatility.
Master your Akai MPK Mini MK3
The Akai MPK Mini MK3 is a powerhouse MIDI controller, and when paired with FL Studio, it becomes an even more versatile tool for music production. By mastering these tips, you can unlock new levels of creativity and efficiency in your workflow. Happy producing!
Leave a Reply